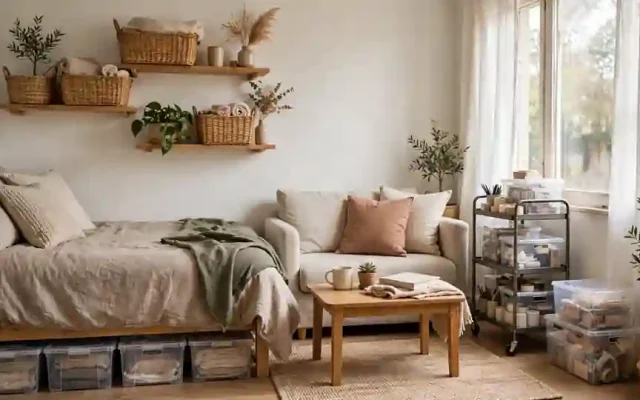
By the end of this process, every room in your home will have clear surfaces, cupboards that close, and a sensible place for the things you actually use. It takes a few focused sessions spread over one to two weeks — not a single exhausting marathon — and about an hour per room for most homes. The room-by-room approach works because you finish one space completely before moving on, so progress is visible and motivating. If you have been weighing up whether a different method would suit you better, our comparison of KonMari vs room-by-room decluttering lays out the honest differences before you commit.
What You Will Need
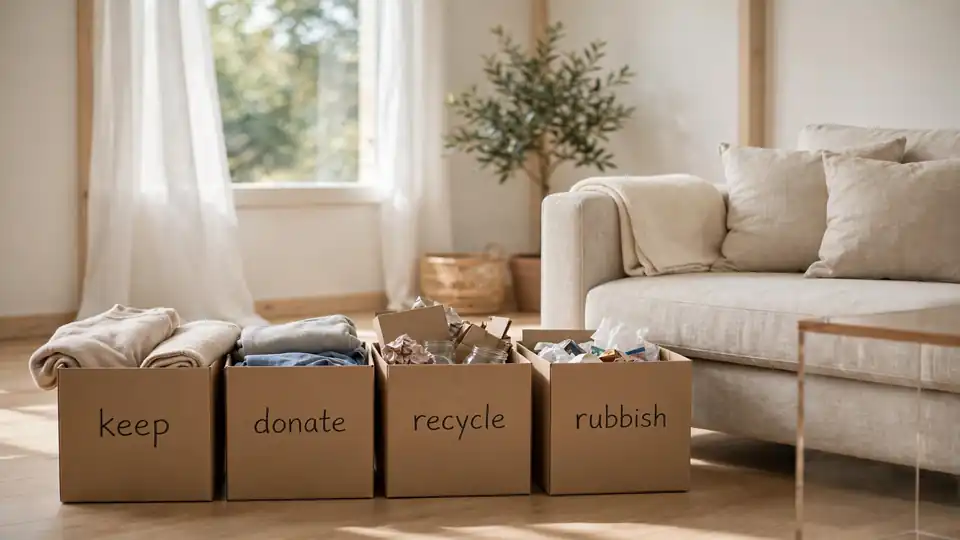
- Four boxes or bags labelled Keep, Donate, Recycle, and Rubbish
- A marker and sticky notes for labelling what you sort
- Basic cleaning spray, a cloth, and a vacuum or brush
- A timer on your phone to keep sessions focused
- One storage box for items that belong in another room
- Patience with yourself — this is a process, not a test
The Steps, Room by Room
- Start with the bathroom. It is small, decisions are easy, and a quick win builds momentum. Empty the cabinet, throw out expired medicines and dried-up products responsibly, group what remains by job, and put back only what you use. Wipe the shelves before anything returns.
- Clear the kitchen surfaces completely. Take everything off the counters, clean the surfaces, then return only daily tools. Gadgets used monthly go in a cupboard; gadgets used never go in the Donate box. This one room changes how the whole home feels, because the kitchen is where clutter shouts loudest.
- Sort the living room by category. Gather all books, cables, games, and paperwork into piles, decide each pile, then assign homes. Use the ideas in our list of best home storage ideas for small spaces if a category genuinely needs a container — but only after you know how much is staying.
- Work through bedroom wardrobes honestly. Take out one section at a time. If you have not worn something in a year and it holds no real sentimental value, let it go. Keep the clothes that fit your actual life now, fold or hang them so you can see everything, and leave a little breathing room on the rail.
- Give the hallway a landing strip. Shoes, coats, bags, and post need fixed spots by the door. Keep only the current season’s outerwear here; store the rest elsewhere. A small tray for keys and a basket for post stop the daily scatter before it starts.
- Tackle storage areas last. Lofts, garages, and spare-room corners hold the oldest decisions, so do them when your decision muscle is warmed up. Work box by box, and be firm: if you forgot you owned it and life was fine, you probably do not need it.
- Deliver every outgoing bag the same week. Donations sitting in the hall for a month are just relocated clutter. Book the charity shop trip or collection as part of the session, take recycling out immediately, and let the Rubbish bag leave the house the same day.
- Assign a home to everything that stayed. An item without a home becomes clutter again within days. Walk each room with fresh eyes and ask where you would look for each thing first — that place is its home. Tell everyone in the household where the new homes are.
- Do a final ten-minute reset of each room. Set a timer, return strays, straighten cushions and surfaces, and enjoy the finished space for a moment. This closing ritual matters: it teaches your eye what “done” looks like, which makes daily upkeep far easier to judge.
How to Pace the Rooms Without Burning Out
Most homes need two kinds of sessions: short weekday sessions of thirty to forty-five minutes for small rooms like the bathroom and hallway, and longer weekend sessions for the kitchen, wardrobes, and storage areas. Put the sessions on your calendar like appointments, because “when I feel like it” quietly becomes never. Work with a timer visible, and stop when it ends even if a corner remains — the method depends on sessions feeling manageable, and a room left ten percent unfinished is easy to close next time. Take a quick photo before and after each room. The photos are not for anyone else; they are proof on the tired days that the system is working and the remaining rooms are worth starting.
Households declutter best when one person leads each room and others help with carrying, cleaning, and their own belongings. Agree the ground rules before the first session: nobody throws away another person’s things, donations leave within the week, and anything disputed goes into a holding box with a date on it. If nobody has claimed an item from the holding box by that date, it leaves. This one agreement prevents most arguments and most of the quiet re-buying of things that were removed without consent.
Common Mistakes That Stall the Whole Job
The biggest mistake is buying storage before sorting. Containers bought for clutter you later donate are wasted money, and prices vary widely, so sort first and check current prices only for what you truly need. The second mistake is pulling everything out of a big room at once and running out of time, leaving a worse mess than you started with — work in sections you can finish in one session. Third, keeping items “just in case” without a limit: allow yourself one small just-in-case box, and when it is full, something must leave before anything new joins. Finally, do not declutter other people’s belongings for them. Sort shared spaces together, and let each person decide on their own things, or resentment will undo your work. Our complete beginner’s guide to organizing a small apartment covers the organising systems to put in place once the sorting is done.
One last encouragement: your home did not fill up in a week, so it does not have to empty in one either. A steady room each week beats a heroic weekend followed by three months of guilt. If a room stalls because everything in it feels difficult, shrink the session rather than abandoning it — one shelf, one drawer, one box still counts as progress, and progress compounds. Take the after photo, enjoy how the finished rooms feel when you use them, and let that feeling pull you into the next session far better than any deadline will.
Your Final Checklist
- Every room sorted, with Keep items in assigned homes
- Donate, Recycle, and Rubbish bags out of the house
- Surfaces clear except for daily-use items
- One small, honest just-in-case box — and no more
- A ten-minute reset done in each room
- A weekly habit planned to keep it this way
Keeping the result is easier than getting it. The daily routines in our guide to cleaning habits that keep your home tidy every day take minutes, and they protect all the work you have just done.